Debugging, Proportional Control, and ROS Parameters
Today
- Robot debugging strategies
- Proportional Control and ROS Parameters
- Studio Time
For Next Time
- Work on the
the Warmup Project (due next Tuesday, the 20th).
Brainstorming Robot Debugging Strategies
You’ve probably learned about debugging strategies for software during your time at Olin. Many of these generic strategies carry over just fine to debugging robotics programs. Let’s take 20-25 minutes with the people around you to come up with some debugging strategies for writing robotis code. As a motivating example, let’s consider the part of the warmup projection where you have to create a person follower.
Here are some areas to consider in the debugging / development lifecycle:
- How do you ensure your code is correct (implements the strategy you expected)?
- How do you test your approach to see if it performs the task effectively (e.g., follows a person)?
- How might you tune the parameters of your approach to make it perform as best possible?
Proportional Control
So far we’ve programmed robots to choose between a small set of motor commands (move forward, stop, etc.) based on sensor readings. Today, we will be experimenting with setting the the motor command proportional to the error between the robot’s current position and the desired position.
To get the idea, program the Neato to adjust its position so that it is a specified (target) distance away from the wall immediately in front of it. The Neato’s forward velocity should be proportional to the error between the target distance and its current distance. Note: it’s tricky to get the sign correct, run through a few mental simulations to make sure the robot will move in the right direction.
To get started, create a package somewhere in your ros2_ws/src directory for your work. In this example, I’m going to put the package directly in my ros2_ws/src directory
$ cd ~/ros2_ws/src
$ ros2 pkg create in_class_day04_solutions --build-type ament_python --node-name wall_approach --dependencies rclpy std_msgs geometry_msgs sensor_msgs neato2_interfaces
This has been confusing in the past, but whenever you add a new ROS package, you’ll want to build using colcon and source the setup.bash file from your workspace.
$ cd ~/ros2_ws
$ colcon build --symlink-install
$ souce ~/ros2_ws/install/setup.bash
You may have noticed at this point that ROS requires a certain amount of boiler-plate code to get going. If you are having trouble with this, or would rather skip ahead to the proportional control part, you can grab some starter code for wall_approach.py.
A helpful tool for visualizing the results of your program is to use the
$ rqt
Next, go to plugins -> visualization -> plot.
Type /scan/ranges[0] (if that is in fact what you used to calculate forward distance) into the topic field and then hit +. You can use this link to find a sample solution to this task.
Getting Fancy
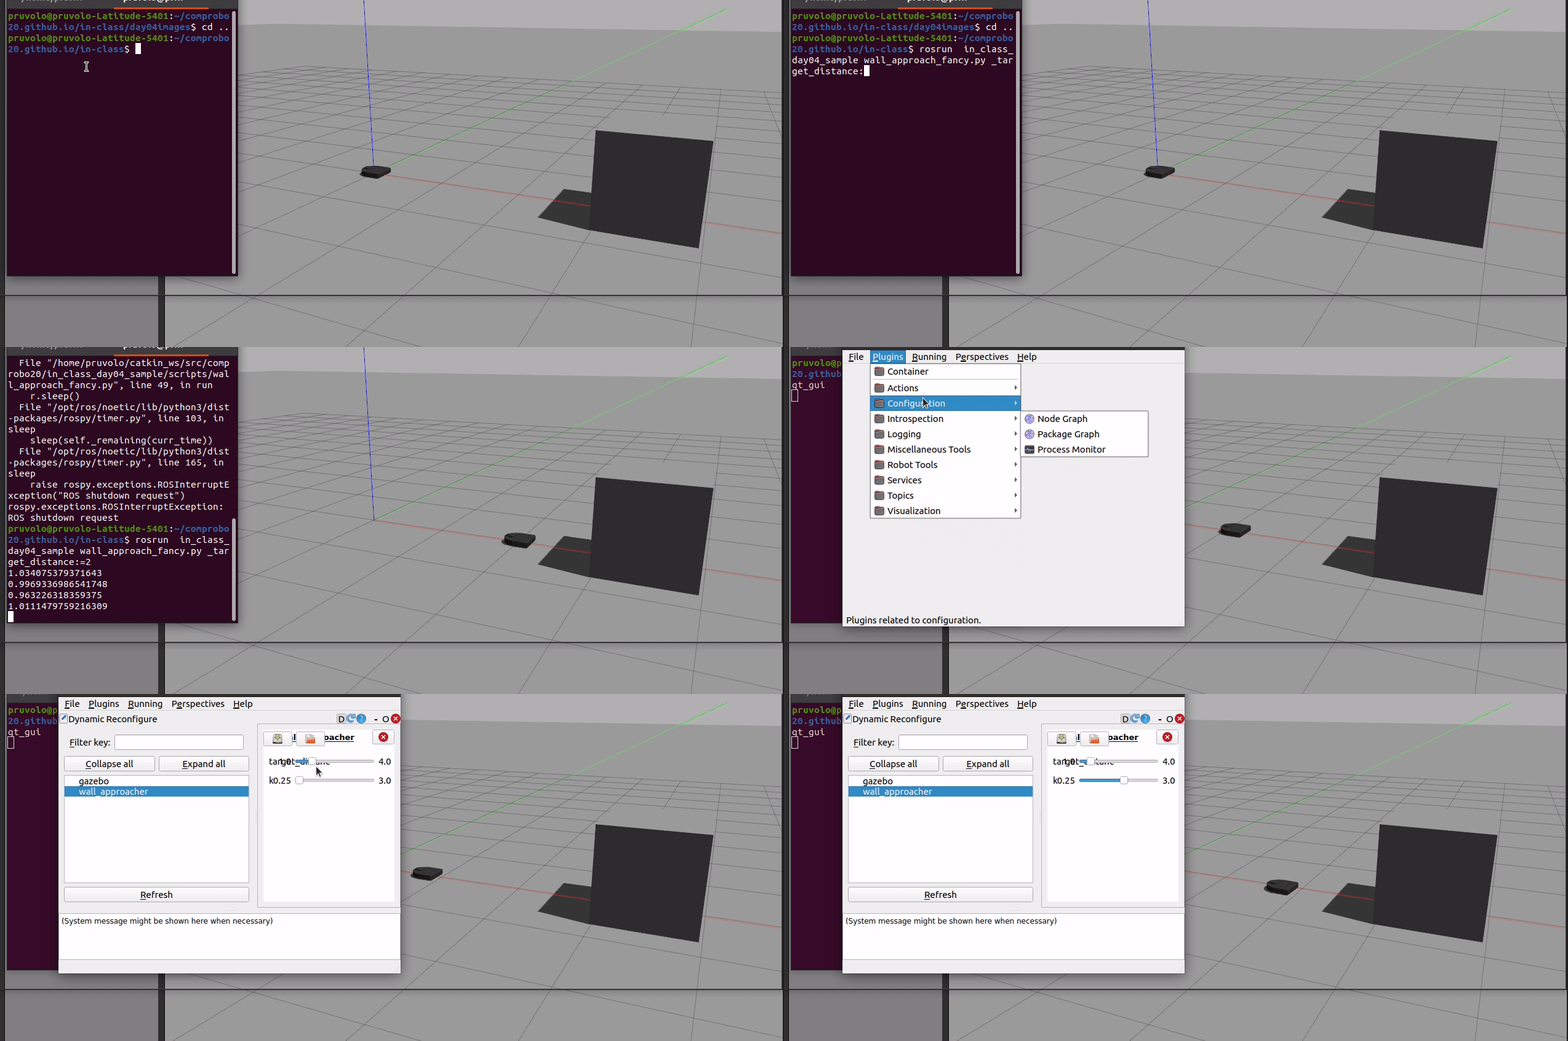
To make your node more configurable, use (see the ros param command line tools documentation for more information) and code for accessing parameters in Python documentation from The Robotics BackEnd (I actually like this doc better than the official one). For instance, if you follow the documentation you can create a node similar to our sample solution that supports the following customization via the command line.
$ ros2 run in_class_day04 wall_approach_fancy --ros-args -p target_distance:=1.5 -p Kp:=0.5
Here is a demo of our script, wall_approach_fancy.py that uses ROS parameters as well as the tool dynamic_reconfigure for easy manipulation of various node parameters. As linked above, you use the following link to find wall_approach_fancy. Note that in order to support dynamic_reconfigure you have to call add_on_set_parameters_callback and implement an appropriate callback function (see sample solution for more on this). Apologies that the demo below is out of date (you should get the main idea though).
 .
.